Your account
This page is for every signed-in player. It shows how to sign out, hold several callsigns and read the licence badge. It also lists the settings and shows how to export or erase your data.
Your account is your callsign. To create one, see Join.
Sign out
Open Settings → Account.
- Sign out ends the session on this device.
- Sign out everywhere ends every session of your account, this device included. The app asks first. Use it after you lose a phone or sign in on a shared computer.
Switching your active callsign also signs your other devices out.
Several callsigns
One account can hold several licensed base callsigns, such as a club call or a call from another country.
- Open Settings → Account and tap Add a callsign.
- Type the base callsign, for example
OE8APR, and tap Add. The app says the call was added and asks you to verify it. - Tap verify next to the new callsign (Verify your callsign).
Each callsign is verified on its own. A verified callsign shows ✓ you control this call. An unverified one is held, not proven: its licensee can take it over (Take over your callsign), so verify every callsign that is yours.
If Add says another account holds the callsign without having proven control, Settings shows the steps of Take over your callsign right there: tap Prove control to start. The callsign then joins your account, verified.
Set active picks the callsign you operate as. The active one shows active. Switching never asks you to verify again. Your past finds stay with the callsign you logged them under.
An SSID needs no extra step. -7 (handheld), -9 (mobile), -10
(IGate) and the rest share their base callsign's verification.
Finds logged under an SSID, such as OE8APR-7, count for the base callsign: on the leaderboard, on your
profile, for your badges, and for rating a cache you found.
Take over your callsign
Someone may have signed up with your callsign before you. While that account has not proven control, you can take the callsign over by proving that the licence is yours.
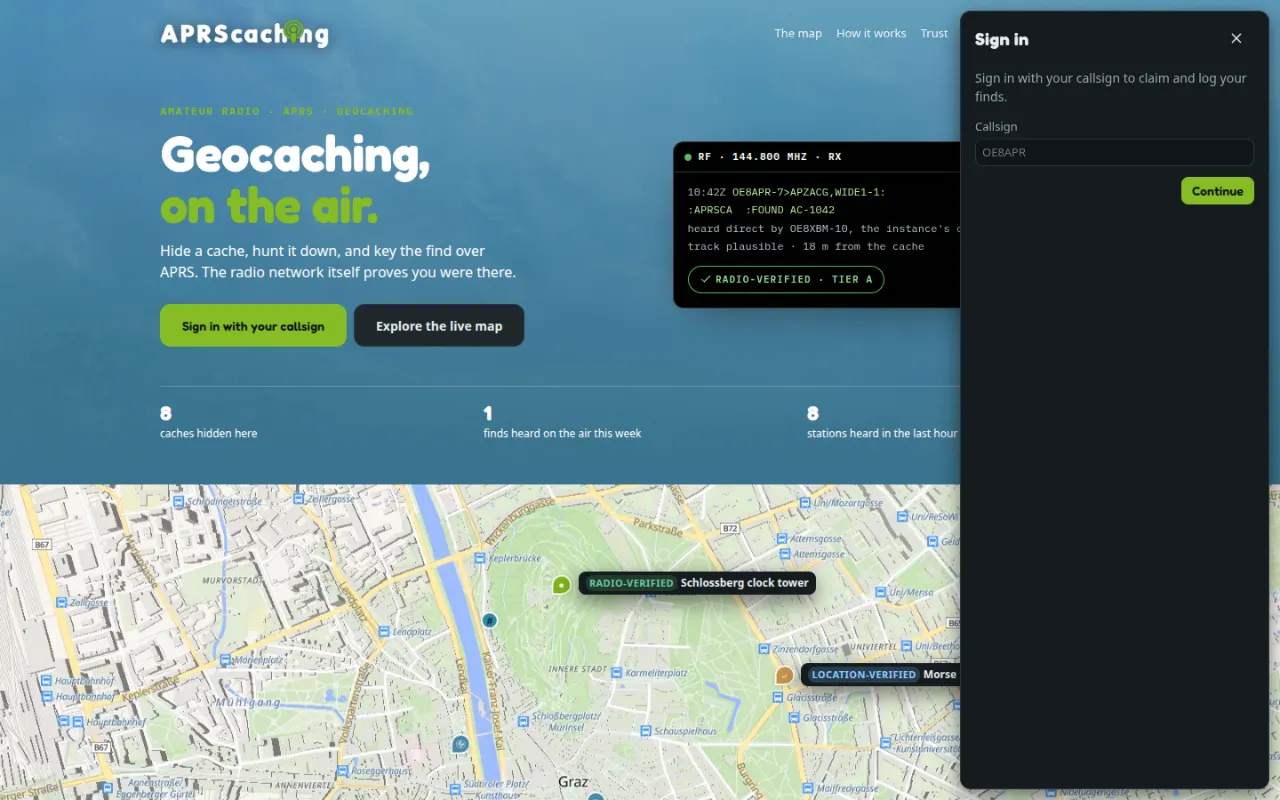
- Tap Sign in and type your Callsign. The panel says another account holds it.
- Tap Take over, then Prove control.
- Pick a Verification method and follow it, as in Verify your callsign.
When the proof succeeds, the callsign is yours and verified, and you are signed in to a new account. The app then asks you to Add a passkey or Add an email: the new account has neither, so once this session ends nothing else signs you in. Until you add one, a bar over the map and Settings → Account keep asking.
The other account keeps what it logged: its finds and caches never move to you. An account that has proven control is not taken over this way. If that account holds your licence, ask the sysop of the instance.
The instance operator's own callsign opens only to the licensee who proves control of it, or through the operator's sign-in link.
If you lose a callsign
You lose a callsign when its licensee takes it over, or when the sysop releases it from your account. The app signs you out and says why, then tells you under your alerts; the instance emails you if your account has a confirmed email. If the callsign was your only one, the notice offers Get or erase my data.
- Your account keeps its other callsigns. The finds and caches you logged under the lost callsign stay yours and now show under your active callsign.
- If the lost callsign was your only one, your finds and caches show as
FORMER. Sign in again with an email link and the callsign you operate now: the finds and caches come with you. To export or erase your data instead, see Your data. - Your device keys for the lost callsign are removed. Register a key for your active callsign again.
If your account is suspended
The sysop of an instance can suspend an account for a while, or until they lift it. The app signs you out and says until when and why; a sign-in link you open says the same. Ask the sysop if you think it is a mistake.
The register badge
Next to each callsign, Settings → Account shows whether a public licence register lists it:
| Badge | Meaning |
|---|---|
| listed in FCC register | A register lists the call as licensed. The badge names the register. |
| listed as expired | A register lists the call, but not as currently licensed. |
| not in a public register | No register this instance reads lists the call. |
The register badge shows that a licence exists, not who uses it. Only ✓ you control this call shows that the call is yours. Many countries publish no register, so not in a public register is normal. It never stops you from using the call. See Licence registers for the registers.
All settings
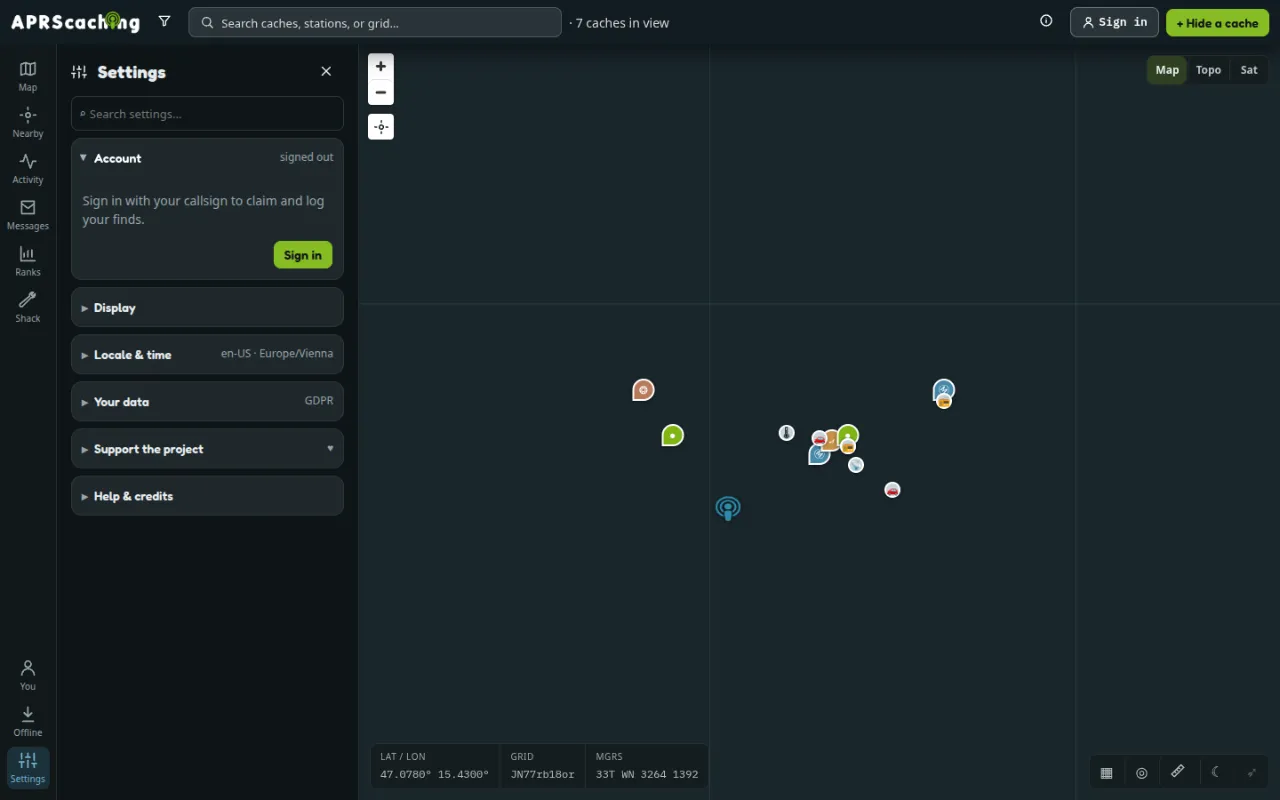
Open Settings from the left rail on a computer. On a phone, tap More, then Settings. The search box at the top filters the groups.
Signed out, you see Account, Display, Locale & time, Your data, Support the project and Help & credits. Signed in, the other groups appear too.
| Group | What it holds |
|---|---|
| Account | Sign in and out, your callsigns, verification, your email, your passkeys (Use more than one device) |
| Display | Appearance (Auto, Light, Dark or Phosphor), Units, and the CRT effect in Phosphor |
| Profile | What others see on your profile |
| My stations | Your stations, your weather stations and their push keys (Weather stations), and living caches |
| My radio (browser) | A radio connected to the browser (Connect your radio) |
| Announce finds | Each verified find sent to APRS-IS as a status message; off by default, needs a verified callsign (Announce your finds) |
| Near-cache radio message | An APRS or MeshCom message to your radio near a cache; off by default, needs a verified callsign (The "you're near" prompt) |
| Notifications | Email digest, Browser push and the Watchlist (Alerts) |
| Locale & time | Language, date and number format, time zone |
| Developer | Keys for your own apps and scripts that read this instance (API keys) |
| Your data | Export or erase your data |
| Support the project | Donations, and what they pay for. A donation earns thanks, never features. |
| Help & credits | The manual, the tour again, a link to report a bug, About this instance, credits |
Dark is the default appearance. Phosphor is a green-screen terminal look.
API keys
The read API is free and needs no key. A key raises its rate limit, for an app or script of yours that reads the instance often (the read API). A key unlocks no feature.
- Open Settings → Developer.
- Type a name for the key, such as the app that uses it, and tap Create key.
- Copy the key now: the app shows it only once. Try it shows how a script sends it.
The list shows each key's name, its first characters, when you created it and when it was last used. Revoke stops a key at once; create a new one if you lose a key. An account holds up to five keys, unless the instance sets another number. The sysop can revoke a key that is misused.
What a new account shares
A new account shares only what the game needs. Everything else starts off until you turn it on.
| What | A new account | Where you change it |
|---|---|---|
| Your callsign, finds, hides and badges | Shown on leaderboards and your profile page: the game ranks by callsign | — |
| Profile card (name, locator, picture, bio, links, contact address) | Hidden, and every field empty | Settings → Profile |
| Your email address | Never shown; used for sign-in links and the digest only | Settings → Account |
| Email digest | Off | Settings → Notifications |
| Browser push | Off | Settings → Notifications |
| Watchlist | Empty | Settings → Notifications |
| Announce finds on APRS-IS | Off | Settings → Announce finds |
| Near-cache radio message | Off | Settings → Near-cache radio message |
| Your device's location | Stays in the browser; sent only with a find you log, as its evidence | — |
| Radio forwarding and transmit from the browser | Off | Settings → My radio (browser) |
| Supporter badge and thanks list | Shown only while your profile card is shown | Settings → Profile |
The app has no analytics and no ads. It sets one session cookie when you sign in.
Your data
Open Settings → Your data.
- Export my data downloads a full copy of everything the instance holds about you. It includes how each of your callsigns was verified, and every callsign you took over or lost.
- Erase my account removes your account, your keys and your personal data, including the text of every message, mail and bulletin you wrote. Your finds stay, but without your name or callsign on them. The app asks Permanently erase OE8APR? first; tap Erase everything to go ahead. The app then signs you out and closes Settings.
Warning
Erasing cannot be undone. It covers the whole account: every callsign it holds, with their SSIDs. Your passkeys stop working. Other instances that copied your records erase them too.
Both need you signed in. Signed out, the group shows Sign in instead.
If your account lost its only callsign, or the sysop suspended it, you cannot sign in with it, but you can still get or erase your data:
- Tap Sign in, then Get or erase my data.
- Type the email address confirmed on your account and tap Email me a link.
- Open the link and tap Open my data. The Your data panel offers Download my data and Erase my account.
The link opens your data and nothing else, and the session it starts lasts an hour.
Move to another instance
The app has no button for moving your account to another instance. Ask the sysop of the instance you want to move to: the instances can carry your callsign and your device keys across, and other instances then credit your earlier finds to your new home.
What a move does not take along:
- your passkeys, which work only on the instance where you made them: sign in on the new instance by email link, then add a passkey there;
- your callsign verification: you verify your callsign again on the new instance;
- your profile, settings and watchlist, which start empty;
- caches you own, which stay on the old instance.
Take Export my data first, so you keep a full copy either way. Sysops find the details in Data protection.
Next
- The Shack at a glance: when you want to operate your radio.
- Privacy by default: what the instance keeps and why.